So, you wanna stretch your own canvas?
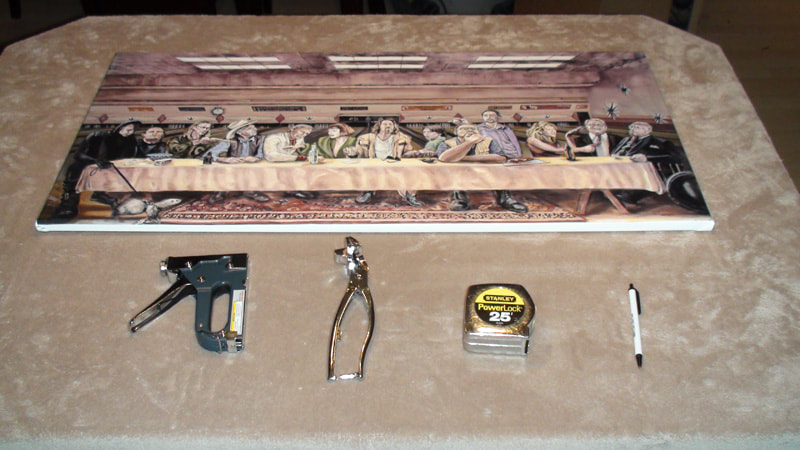
1. Get out all the tools and supplies you need.
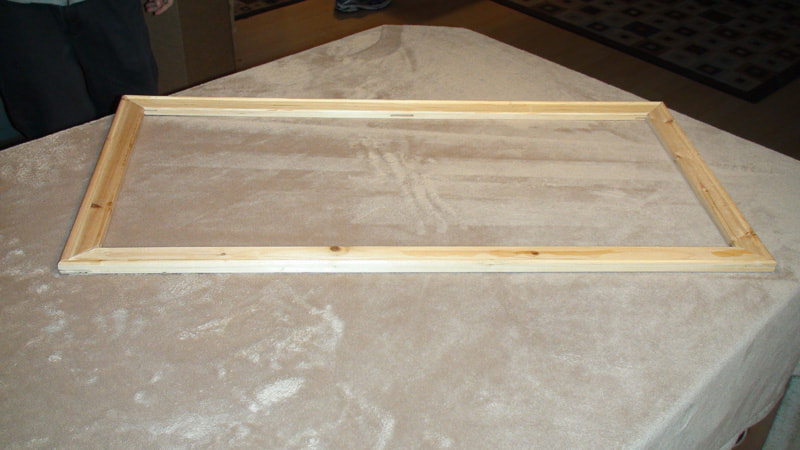
2. Assemble the Frame
3. Make sure the frame is square
|
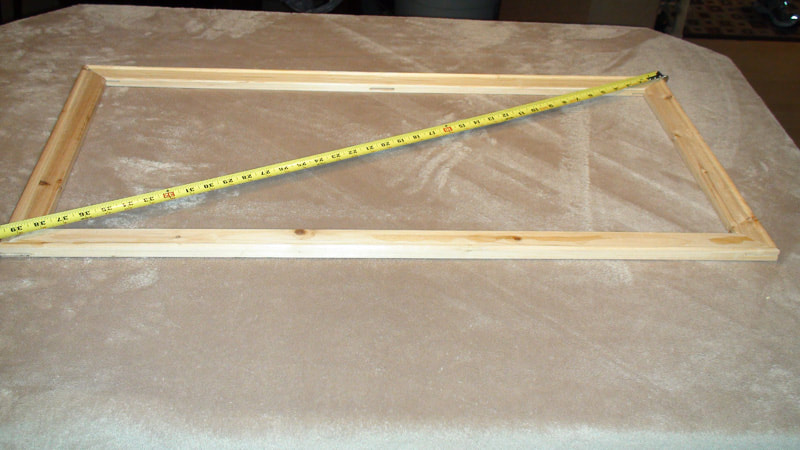
With the frame assembled, the next step is to make sure it is square. With the tape measure, measure across each diagonally opposed corner. The measurements should be the same. If one is smaller than the other, that means that the frame is squished too much across that diagonal. Try to pull the other diagonal closer together. Re-measure and repeat until both measurements are the same.
Take a sip of that delicious white Russian and get ready to line up the canvas. |
4. Line up the canvas and mark the placement
|
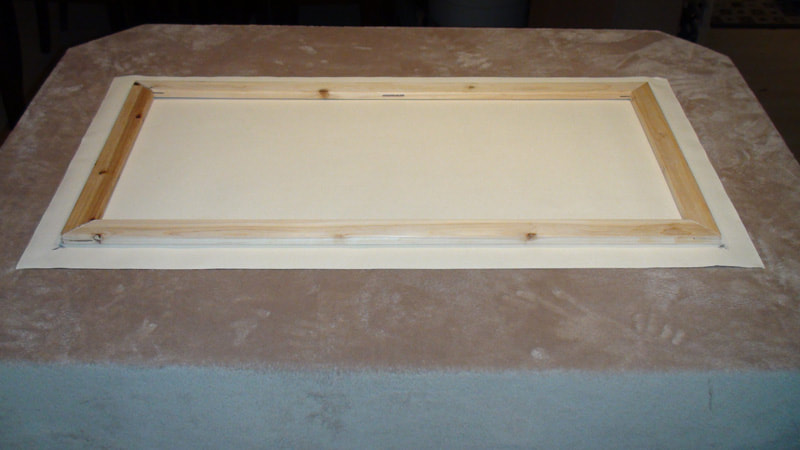
Now that the frame is perfectly squared up, set it on top of the canvas with the printed side up. Center the frame both vertically and horizontally so the print is exactly under the frame.
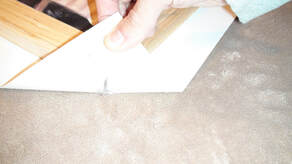
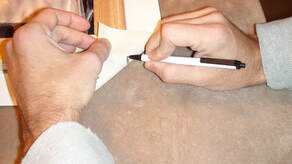
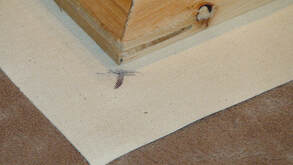
Without moving the frame, fold up each corner and mark a 'T' shape on the back of the canvas. This will help us line up the frame against the backside of the canvas. Make sure you do this for all corners without moving the frame relative to the canvas. That white Russian sounds pretty good about now... |
5. Flip the canvas over
6. Staple the top and bottom.
|
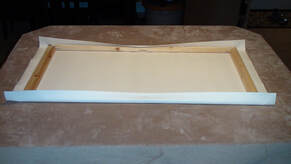
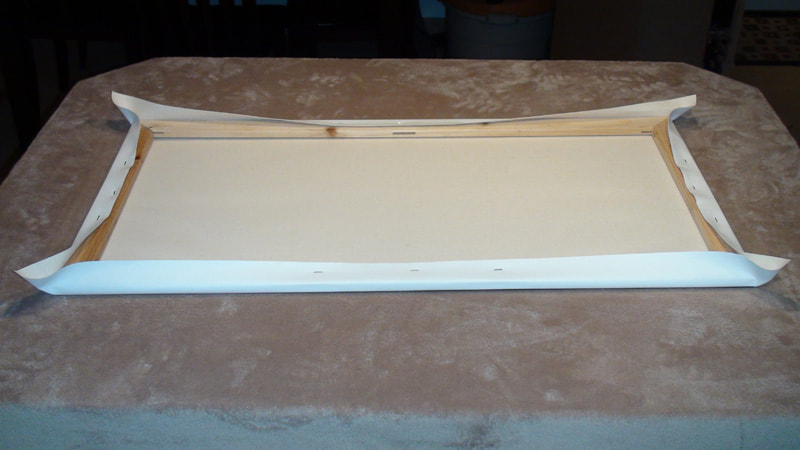
Place the frame on top of the canvas and line it up with the marks we made earlier. When it is properly lined up, fold the top over the frame and staple it to the frame using only one staple in the center of the stretcher bar. Pull the bottom tight, fold the canvas over the frame, and staple it with only a single staple. You should be able to see the print just coming over the frame. If its all white, you may need to remove the staples, adjust the position, and re-staple it.
|
7. Staple the sides
|
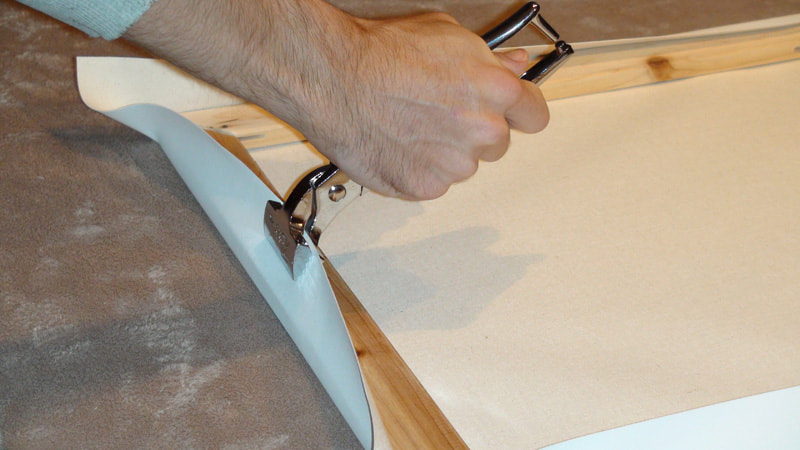
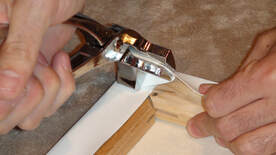
After the top and bottom canvas each have a staple holding them tight, you will repeat that process for the sides, but using the canvas pliers. Pull the left side of the canvas over the frame making sure you can just barely see the print. Staple it once in the center of the frame. Pull the right side of the canvas over the frame making sure you can just barely see the print. Staple it once in the center of the frame. At this point, you should have 4 staples holding the canvas to the frame. Flip the canvas/frame over and double check the placement. If any of the sides are off, you can remove the staples and try again.
Whew! You've definitely earned a drink or two! |
8. Add a few more staples
9. Staple a corner
|
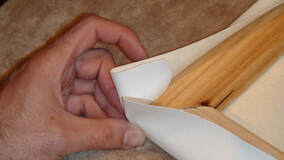
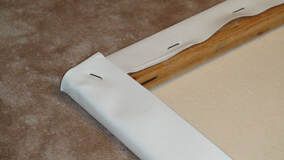
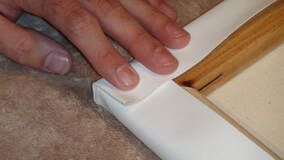
Now it's time to take care of the corners. Pull the canvas tight in each direction on the corners. You have to do a little folding to make the corners as flat as possible. Pretend you're folding the corners of the sheets on your bed (if you've ever made your bed)! This takes some fidgeting around with, but just keep folding, pulling to tighten, and then flattening the corners. Once you are happy with the fold, place a staple in the corner.
When you finish a corner, you can then fill in the staples on the half nearest the corner on each of the adjoining stretcher bars. Please each staple a few inches apart, and make sure to use the canvas pliers to pull it tight to avoid white-space showing on the front. Well, you just finished your first corner. If you've got any Caucasian left, go ahead and take another drink, we're almost done! |
10. Staple the rest of the corners
|
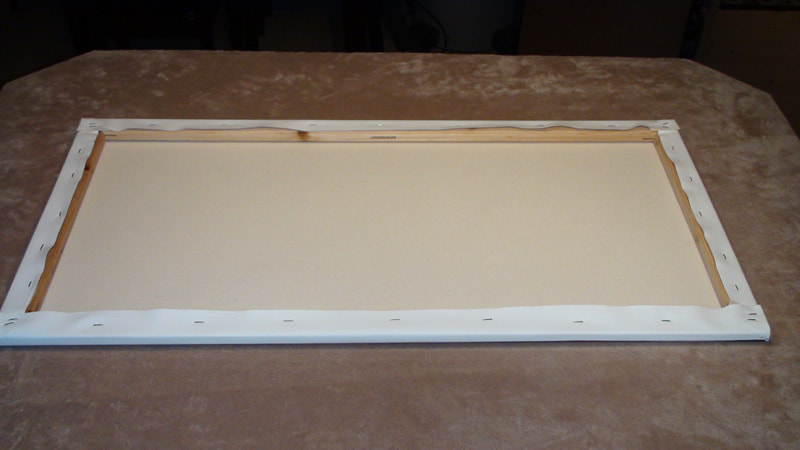
Move on to each of the corners, pulling, folding, stapling each in succession. You can flip the canvas over after each corner to make sure everything is lined up. If not, you can pull a staple or two out and pull the canvas tighter with the pliers. Don't be afraid to really pull on it to stretch it out nice and tight.
|
11. Finish Stapling
Now you should have a fully stretched and framed Lebowski Last Supper masterpiece! Finish your drink, admire your work, and hang it up!
We hope the write-up has helped you stretch your canvas and really help tie your room together! If you have any questions or are having trouble with any of the steps, drop us an email and we'd be glad to help!
[email protected]
Home
We hope the write-up has helped you stretch your canvas and really help tie your room together! If you have any questions or are having trouble with any of the steps, drop us an email and we'd be glad to help!
[email protected]
Home
